title
Server Setup:
- Download and run LimoWiz server setup. Keep the default installation folder as c:\limowiz2000
- Follow wizard until is installation is complete. During installation you may be prompted to install several required components like .NET Framework. Make sure to allow the installation program to proceed.
- Upon server setup completion, the LimoWiz program will start and prompt you to install/upgrade its data files. Proceed until data install/upgrade is finished.
- Exit LimoWiz and setup the sharing and security.
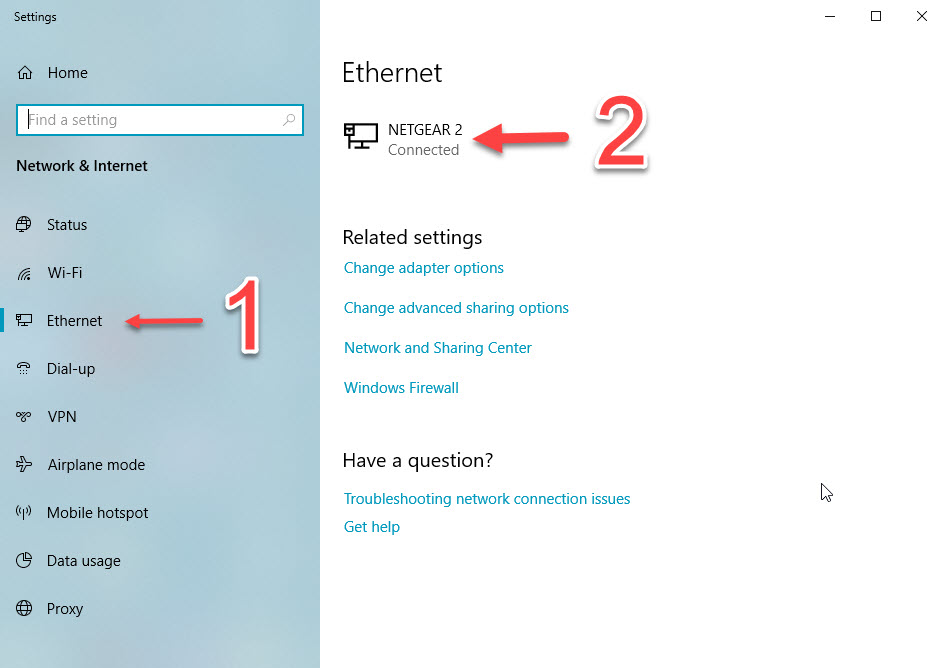
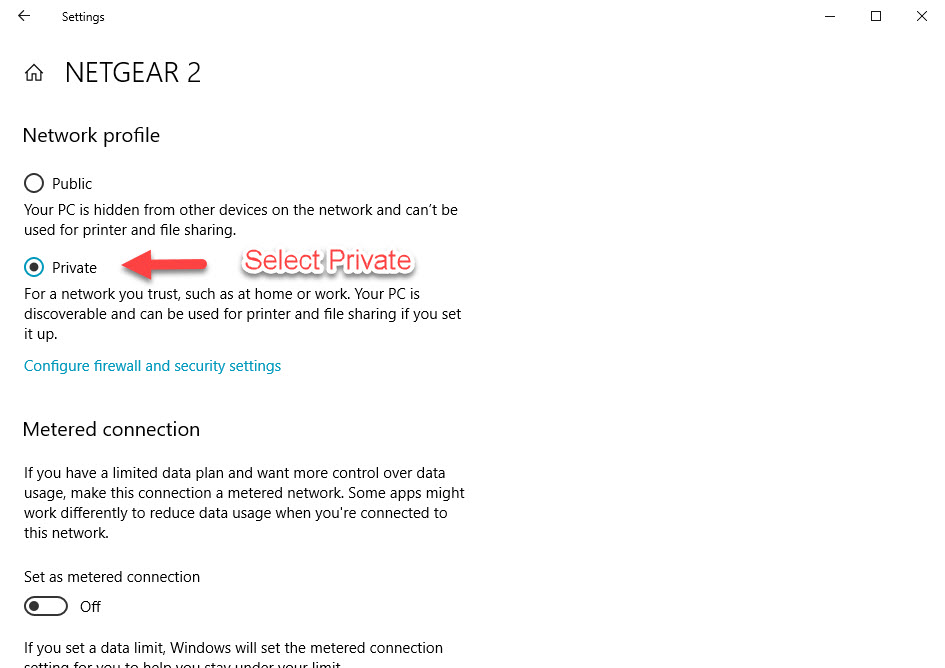
LimoWiz2000 folder sharing and security setup:
The following screens are based on the Windows 10 interface.
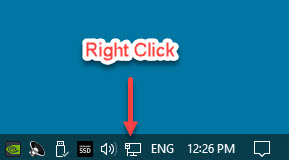

Note: NETGEAR2 is the name of the network on my system. Yours may be different.


Workstation Setup:
Download and run LimoWiz workstation setup. Follow wizard and leave all defaults the same.
Open LimoWiz. If this is the first time you install LimoWiz Workstation, you will be prompted to for the LimoWiz Data Path. This is the path to the folder where LimoWiz stores its data files and is shared on server as per the instruction on the LimoWiz server setup as outlined above.

Click Browse Folder. Select Network in the Choose a Folder dialog, and select the server computer name. In the above example: XPS8500 (Yours may be different) Then select LimoWiz2000 folder, and click the OK button to accept.

The Data Path will be shown similar to the example above.
Click Save.
If the sharing and security permission are setup properly, then the LimoWiz login window will be shown.
Each user may have a User ID and password. The administrator needs to add the user in the LimoWiz Tools menu, LimoWiz Users Setup.